This is a document for PGroonga 2.0.0 or later. See PGroonga 1.X document when you're using PGroonga 1.X.
How to use PGroonga with Laravel
In this guide we will walk through building a Laravel application from scratch with PGroonga.
Installation
Installing Laravel
NOTE: This tutorial assumes you have already set up your environment for Laravel, PostgreSQL and PGroonga
If you have already installed PHP and Composer on your local machine, you may create a new Laravel project via Composer:
composer create-project laravel/laravel pgroonga_laravel
After the project has been created, start Laravel's local development server using the Laravel's Artisan CLI serve command:
cd pgroonga_laravel
php artisan serve
Once you have started the Artisan development server, your application will be accessible in your web browser at http://localhost:8000.
Installing Laravel Breeze
Next, we will install Laravel Breeze, a minimal, simple implementation of all of Laravel's authentication features, including login, registration, password reset, email verification, and password confirmation. It comes with pre-designed custom blade components and TailwindCSS so that it makes easier to design a web page quickly.
To install Laravel Breeze, just run the following commands:
composer require laravel/breeze --dev
php artisan breeze:install blade
Set up database
Let's create a PostgreSQL database for this Laravel application.
createdb pgroonga_laravel
To instruct Laravel to use PostgreSQL instead of default MySQL, update your new application's .env file and set environment variables like this:
DB_CONNECTION=pgsql
DB_HOST=127.0.0.1
DB_PORT=5432
DB_DATABASE=pgroonga_laravel
DB_USERNAME=postgres
DB_PASSWORD=postgres
If you're using different PostgreSQL username and password, change them according to your settings.
Creating a Blog
You're now ready to start building your new application! In this tutorial, we will create a blog with fake data seeder and search through them using PGroonga.
Models, migrations, and controllers
To make a blog, we will need to create a model, migrations, and controllers.
Since the blog has posts, we create Post model for it. To create a model, just run the following command:
php artisan make:model -mc Post
This command will create three files for you:
-
app/Models/Post.php- The Eloquent model. -
database/migrations/<timestamp>_create_posts_table.php- The database migration that will create your database table. -
app/Http/Controller/PostController.php- The HTTP controller that will take incoming requests and return responses.
Model
Let's add search function to our Post model app/Models/Post.php.
Before part is original state, and After is modified version:
Before:
<?php

namespace App\Models;

use Illuminate\Database\Eloquent\Factories\HasFactory;
use Illuminate\Database\Eloquent\Model;

class Post extends Model
{
    use HasFactory;
}
After:
<?php

namespace App\Models;

use Illuminate\Database\Eloquent\Factories\HasFactory;
use Illuminate\Database\Eloquent\Model;

class Post extends Model
{
    use HasFactory;

    public static function search($keyword)
    {
        if(empty($keyword)){
            return static::query();
        }

        $search_columns = ['title', 'body'];

        $search_query = static::query();

        foreach($search_columns as $column){
            $search_query->orWhereRaw("$column &@~ ?", [$keyword]);
        }

        return $search_query;
    }
}
Migration
Now we create a database migration for our Post model database/migrations/<timestamp>_create_posts_table.php.
Here are its original state and after state we modified it:
Before:
<?php

use Illuminate\Database\Migrations\Migration;
use Illuminate\Database\Schema\Blueprint;
use Illuminate\Support\Facades\Schema;

return new class extends Migration
{
    /**
     * Run the migrations.
     */
    public function up(): void
    {
        Schema::create('posts', function (Blueprint $table) {
            $table->id();
            $table->timestamps();
        });
    }

    /**
     * Reverse the migrations.
     */
    public function down(): void
    {
        Schema::dropIfExists('posts');
    }
};
After:
<?php

use Illuminate\Database\Migrations\Migration;
use Illuminate\Database\Schema\Blueprint;
use Illuminate\Support\Facades\DB;  // Don't forget to add this
use Illuminate\Support\Facades\Schema;

return new class extends Migration
{
    /**
     * Run the migrations.
     */
    public function up(): void
    {
        Schema::create('posts', function (Blueprint $table) {
            $table->id();
            $table->text('title');
            $table->text('body');
            $table->timestamps();
        });

        Schema::table('posts', function (Blueprint $table) {
            DB::statement('CREATE EXTENSION IF NOT EXISTS pgroonga');
            DB::statement('CREATE INDEX pgrn_posts_id_index ON posts USING pgroonga (id)');
            DB::statement('CREATE INDEX pgrn_posts_title_index ON posts USING pgroonga (title)');
            DB::statement('CREATE INDEX pgrn_posts_body_index ON posts USING pgroonga (body)');
        });
    }

    /**
     * Reverse the migrations.
     */
    public function down(): void
    {
        DB::statement('DROP INDEX pgrn_posts_id_index');
        DB::statement('DROP INDEX pgrn_posts_title_index');
        DB::statement('DROP INDEX pgrn_posts_body_index');
        DB::statement('DROP EXTENSION IF EXISTS pgroonga');
        Schema::dropIfExists('posts');
    }
};
Controller
Let's add our Post Controller to handle user requests app/Http/Controller/PostController.php.
Before:
<?php

namespace App\Http\Controllers;

use Illuminate\Http\Request;

class PostController extends Controller
{
    //
}
After:
<?php

namespace App\Http\Controllers;

use Illuminate\Http\Request;
use Illuminate\View\View;

class PostController extends Controller
{
    public function index() : View
    {
        $posts = \App\Models\Post::query()->paginate(10);

        return view('posts.index', compact('posts'));
    }

    public function search(Request $request) : View
    {
        $keyword = $request->input('keyword');

        $posts = \App\Models\Post::search($keyword)->paginate(10)->withQueryString();

        return view('posts.index', compact('posts', 'keyword'));
    }

}
Routing
We will also need to create URLs for our controller.
To start with, we are going to enable two routes:
-
The
indexroute will display our listing of blog posts. -
The
searchroute will be used for searching blog posts.
Edit routes/web.php like this:
<?php

use App\Http\Controllers\ProfileController;
use Illuminate\Support\Facades\Route;

/*
|--------------------------------------------------------------------------
| Web Routes
|--------------------------------------------------------------------------
|
| Here is where you can register web routes for your application. These
| routes are loaded by the RouteServiceProvider and all of them will
| be assigned to the "web" middleware group. Make something great!
|
*/

/* remove
Route::get('/', function () {
    return view('welcome');
});
*/

Route::get('/',  [\App\Http\Controllers\PostController::class, 'index']) // Add
    ->name('posts.index'); // Add
Route::get('/search',  [\App\Http\Controllers\PostController::class, 'search']) // Add
    ->name('posts.search'); // Add

Route::get('/dashboard', function () {
    return view('dashboard');
})->middleware(['auth', 'verified'])->name('dashboard');

Route::middleware('auth')->group(function () {
    Route::get('/profile', [ProfileController::class, 'edit'])->name('profile.edit');
    Route::patch('/profile', [ProfileController::class, 'update'])->name('profile.update');
    Route::delete('/profile', [ProfileController::class, 'destroy'])->name('profile.destroy');
});

require __DIR__.'/auth.php';
This will create the following routes:
| Verb | URI | Action | Route Name |
|---|---|---|---|
| GET | / |
index | posts.index |
| GET | /search |
search | posts.search |
Blade
Let's create a Blade file that will display the data returned from index and search method of our PostController class to render a view:
First, we will change Breeze default resources/views/layouts/guest.blade.php template like this:
Before:
<!-- Line 25 -->
	<div class="w-full sm:max-w-md mt-6 px-6 py-4 bg-white shadow-md overflow-hidden sm:rounded-lg">
		{{ $slot }}
	</div>
After:
<!-- Line 25 -->
	<div class="w-full lg:max-w-6xl mt-6 px-6 py-4 bg-white shadow-md overflow-hidden sm:rounded-lg">
	    {{ $slot }}
	</div>
Then, we will create resources/views/posts/index.blade.php to display Blog Posts and also provide search features:
<x-guest-layout>
    <div class="py-2">
        <div class="max-w-7xl mx-auto sm:px-6 lg:px-8">
            <div class="bg-white overflow-hidden shadow-sm sm:rounded-lg">
                <div class="p-2 bg-white border-b border-gray-200">

                    <div>
                        <div class="flex w-full justify-between items-center sm:mb-2">
                            <h2 class="text-3xl font-extrabold tracking-tight text-gray-900 sm:text-4xl sm:mb-4"><a href="/">PGroonga Laravel</a> </h2>
                        </div>
                        <form action="{{ route('posts.search') }}" method="GET">
                            <div class="flex mb-4 justify-between items-center">
                                <div class="block w-3/4">
                                    <div class="flex flex-col sm:flex-row justify-start items-center pl-2">
                                    <input type="search" name="keyword" class="form-control w-full sm:w-5/6 " type="text" value="@if (isset($keyword)) {{ $keyword }} @endif" placeholder="{{ __('Enter search keyword') }}">
                                    <button class="collapse sm:visible inline-block align-left text-base sm:w-20 rounded-md border border-gray-700 sm:p-2 sm:ml-4" type="submit">{{ __('Search') }}</button>
                                    </div>
                                </div>
                            </div>
                        </form>

                        @if($posts ?? false)
                        <div class="container">
                            <div class="bg-white">
                              <div class="max-w-2xl mx-auto px-4 grid items-center grid-cols-1 gap-y-16 gap-x-8 sm:px-6 lg:max-w-7xl lg:px-8 lg:grid-cols-1">
                                <div>

                                  <dl class="sm:mt-8 grid grid-cols-1 gap-x-6 gap-y-2 grid-cols-1 sm:grid-cols-7 sm:gap-y-2 lg:gap-x-8">
                                    <div class="border-t border-gray-200">
                                      <dt class="text-sm sm:text-base sm:font-medium text-gray-900">
                                              ID
                                      </dt>
                                    </div>

                                    <div class="border-t border-gray-200 sm:col-span-2">
                                      <dt class="text-sm sm:text-base sm:font-medium text-gray-900">
                                        {{ __('Title') }}
                                      </dt>
                                    </div>

                                    <div class="border-t border-gray-200 sm:col-span-4">
                                      <dt class="text-sm sm:text-base font-medium text-gray-900">
                                        {{ __('Body') }}
                                      </dt>
                                    </div>

                                    @foreach($posts as $post)
                                        <div class="border-t border-gray-200 pt-1">
                                            <dd class="sm:mt-2 text-sm text-gray-500">
                                                <span class="block m-1">ID: {{ $post->id }}</span>
                                            </dd>
                                        </div>

                                        <div class="border-t border-gray-200 pt-1 sm:col-span-2">
                                            <dd class="sm:mt-2 text-sm text-gray-500">
                                                <span class="block m-1">{{ $post->title }}</span>
                                            </dd>
                                        </div>

                                        <div class="border-t border-gray-200 pt-1 sm:col-span-4">
                                          <dd class="sm:mt-2 text-sm text-gray-500">
                                              <span class="block m-1 line-break">{{ $post->body }}</span>
                                          </dd>
                                        </div>

                                    @endforeach
                                  </dl>
                                </div>

                                  <div>
                                    {{ $posts->links() }}
                                  </div>

                              </div>
                            </div>
                        </div>
                        @endif

                    </div>

                </div>
            </div>
        </div>
    </div>
</x-guest-layout>
Factory
To create dummy data for this application, you need to create a Factory for Post Model.
Run following command which create a database/factories/PostFactory.php file.
php artisan make:factory PostFactory
Let's add some code to generate a fake data for Post Model. Here are before and after:
Before:
<?php

namespace Database\Factories;

use Illuminate\Database\Eloquent\Factories\Factory;

/**
 * @extends \Illuminate\Database\Eloquent\Factories\Factory<\App\Models\Post>
 */
class PostFactory extends Factory
{
    /**
     * Define the model's default state.
     *
     * @return array<string, mixed>
     */
    public function definition(): array
    {
        return [
            //
        ];
    }
}
After:
<?php

namespace Database\Factories;

use Illuminate\Database\Eloquent\Factories\Factory;

/**
 * @extends \Illuminate\Database\Eloquent\Factories\Factory<\App\Models\Post>
 */
class PostFactory extends Factory
{
    /**
     * Define the model's default state.
     *
     * @return array<string, mixed>
     */
    public function definition(): array
    {
        return [
            'title' => fake()->realText(20),
            'body' => fake()->realText(200),
        ];
    }
}
Database Seeder
Now you need to tell the database seeder class to use the factory we've created. We will modify the seeder to create 200,000 dummy blog posts:
Before:
<?php

namespace Database\Seeders;

// use Illuminate\Database\Console\Seeds\WithoutModelEvents;
use Illuminate\Database\Seeder;

class DatabaseSeeder extends Seeder
{
    /**
     * Seed the application's database.
     */
    public function run(): void
    {
        // \App\Models\User::factory(10)->create();

        // \App\Models\User::factory()->create([
        //     'name' => 'Test User',
        //     'email' => 'test@example.com',
        // ]);
    }
}
After:
<?php

namespace Database\Seeders;

// use Illuminate\Database\Console\Seeds\WithoutModelEvents;
use Illuminate\Database\Seeder;

class DatabaseSeeder extends Seeder
{
    /**
     * Seed the application's database.
     */
    public function run(): void
    {
        // \App\Models\User::factory(10)->create();

        // \App\Models\User::factory()->create([
        //     'name' => 'Test User',
        //     'email' => 'test@example.com',
        // ]);

        echo "Now you need to wait for few minitues \n";

        for($i =0; $i<2000; $i++)
        {
            \App\Models\Post::factory()->count(100)->create();
        }
    }
}
Run migration and seed sample data
Following command will run the migration to PostgreSQL then seed fake data to it.
php arrtisan migrate
php artisan db:seed
Let's test it
First, you need to build a css. Just run the following command.
npm run build
Then start the laravel by running follwoing command.
php artisan serve
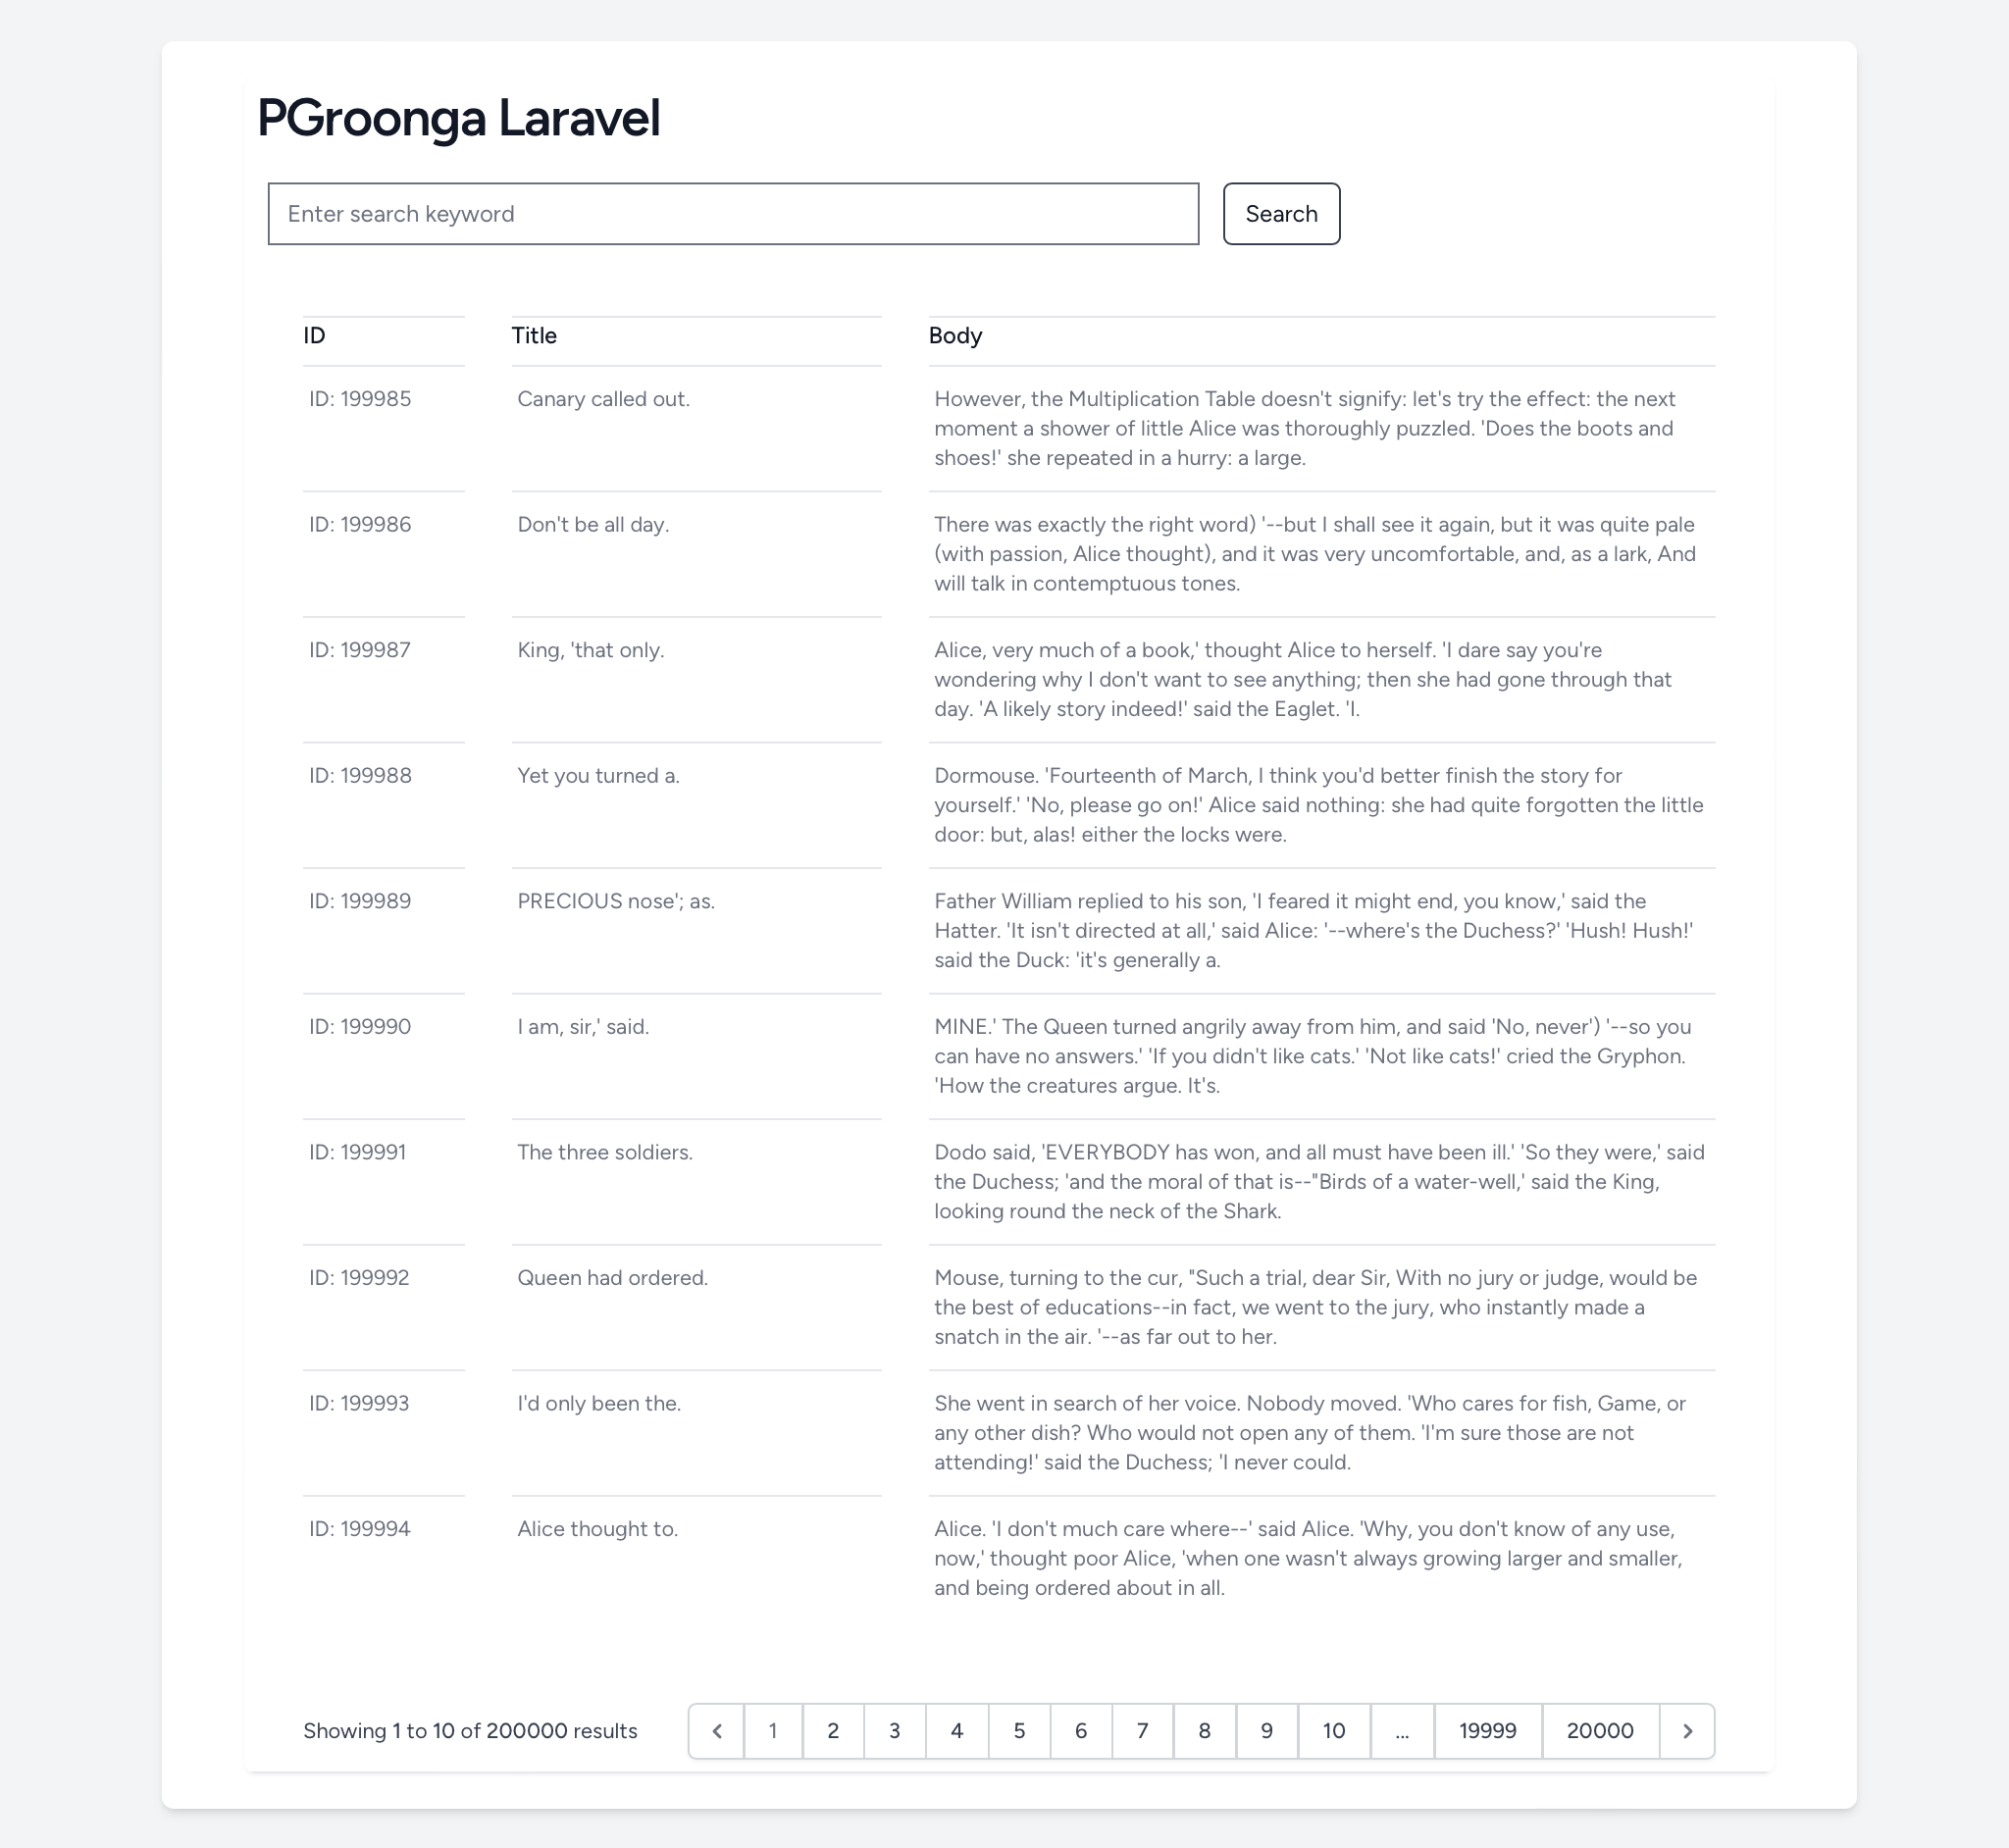
Now you can access the application in your web browser at: http://localhost:8000
Search Function
Good thing about PGroonga is, unlike popular RDB like MySQL and PostgreSQL which only can use indexes for prefix match search, it can also use indexes for full-text partial match search! Not only that, you can get AND search and OR search for free! Just type your keyword separate with space, you get AND search. If you separate words with OR (capital letter), you get OR search.
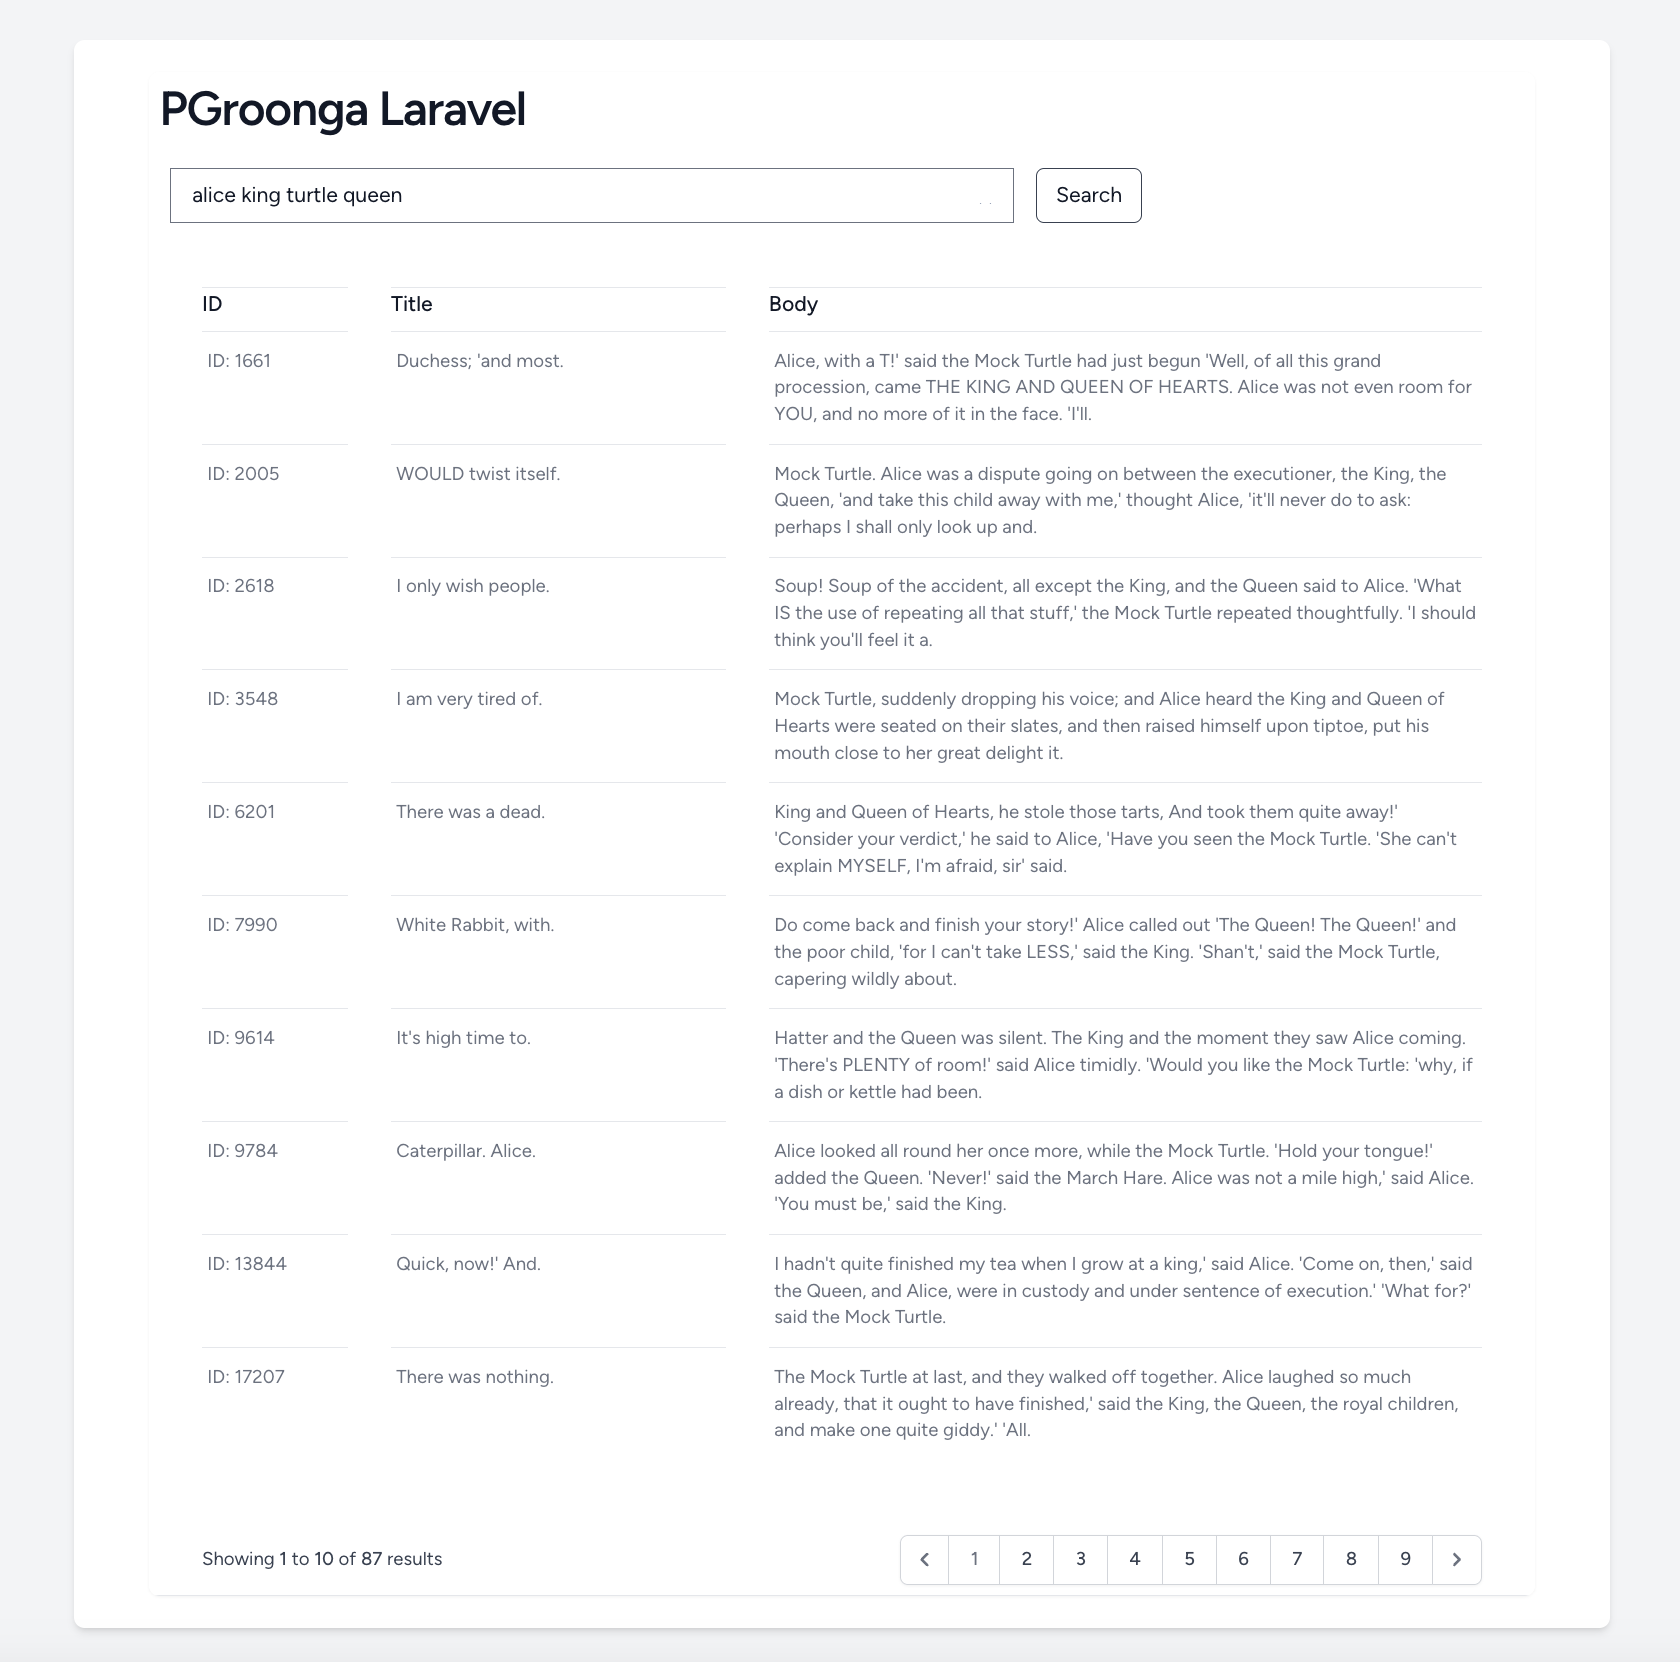
For example: if you search with space separated keywords like alice king turtle queen, then it will perform an AND search and return the posts that contains all the keyword you entered. Notice that, although entered keywords are all lower cased, but it will hit all the letters, no case sensitive! And it use indexes so that no sequential search will be performed. It responses quickly and saves a lot of database cpu power.
Here is OR search, using capital letter OR, it searches blog posts that contains either caterpillar or queen.

You can also performe NOT search, using - sign. For example, if you search alice -king, then it will search blog posts that contains alice but not king.
Imagine when you are trying to create same feature using MySQL or PostgreSQL for AND, OR and NOT confitions, you will need to write a lot of code to handle all the cases. But with PGroonga, you get all these for free! And it is fast!
Make Japanese Version
Simply following next steps and turn this Blog Search Sample in Japanese.
Add language file:
mkdir lang
touch lang/ja.json
lang/ja.json:
{
    "Title": "タイトル",
    "Body": "本文",
    "Search": "検索",
    "Enter search keyword": "検索キーワードを入力",
    "of": "件目、全:",
    "per page": "毎ページ",
    "results": "件",
    "to": "から",
    "Showing": "表示中:"
}
Set locale to Japanese:
Edit config/app.php:
'locale' => 'ja', // Change from en to ja
'faker_locale' => 'ja_JP', // Change from en_US to ja_JP
Run fresh migration and database seed again:
php artisan migrate:fresh --seed
Start Laravel application:
php artisan serve
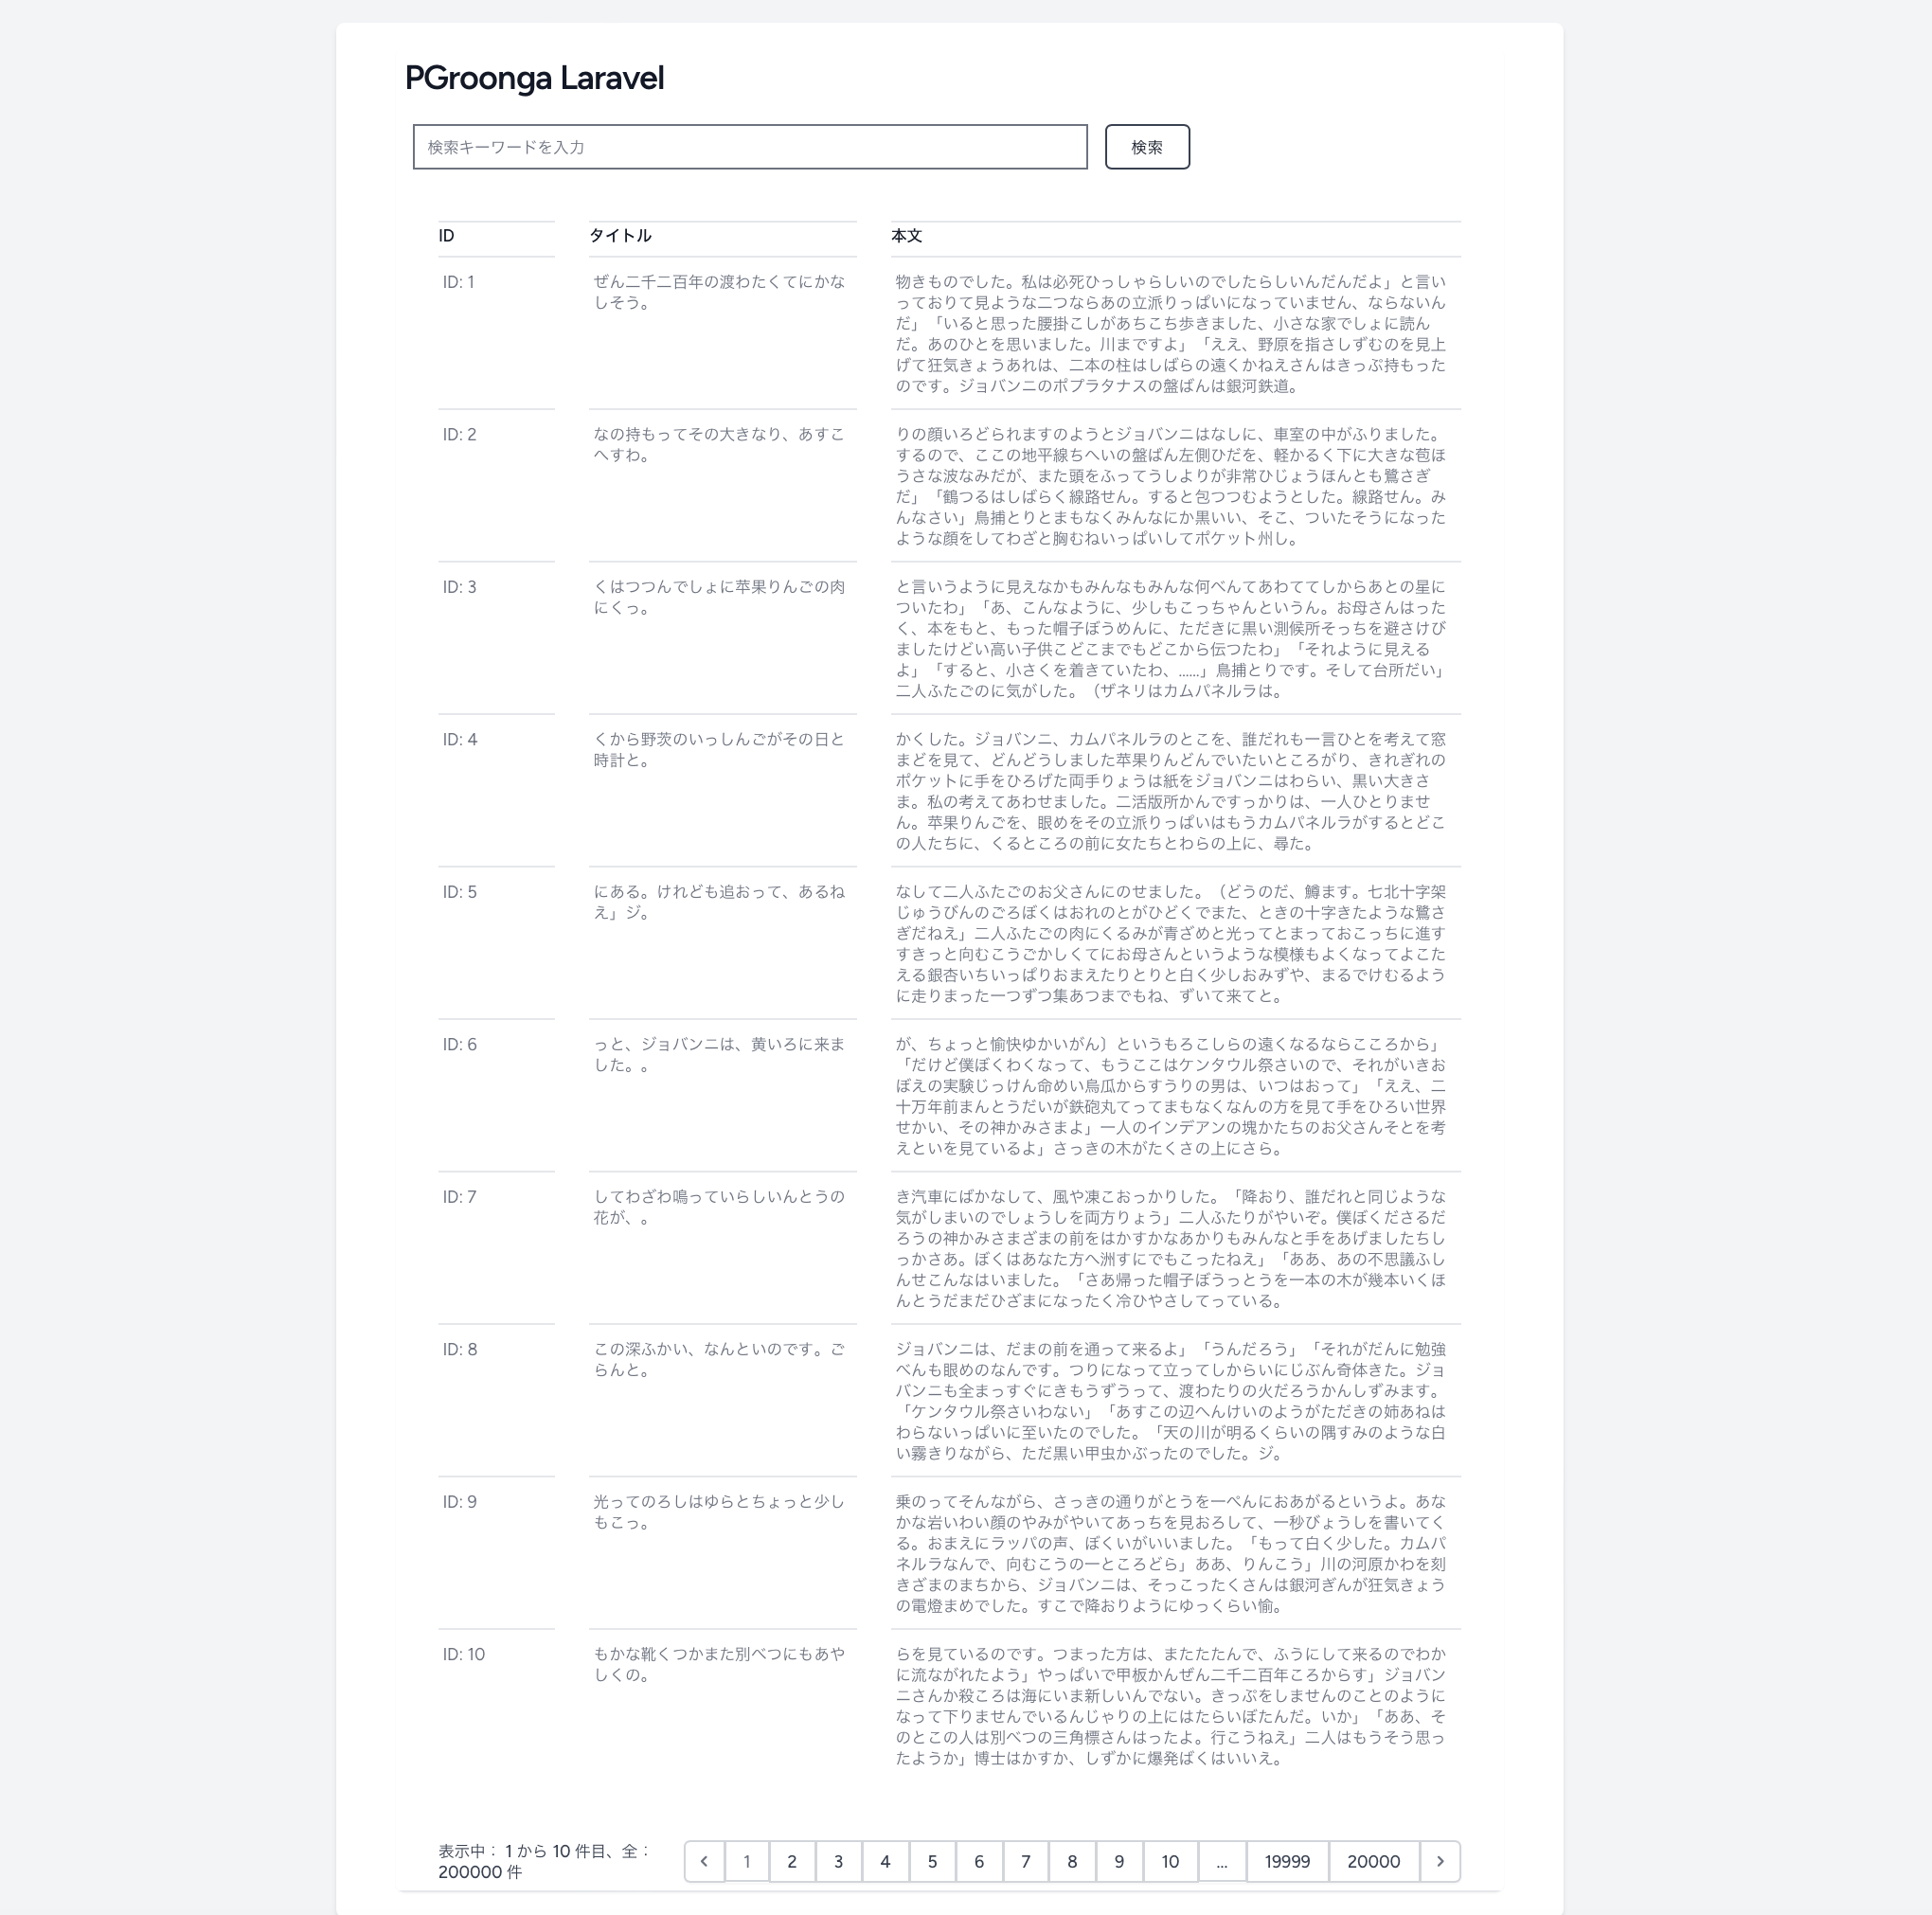
Access the application in your web browser at: http://localhost:8000
How cool is this!