これはPGroonga 2.X用のドキュメントです。古いPGroongaを使っているならPGroonga 1.xのドキュメントを見てください。
PostgRESTでPGroongaを使う方法
PostgRESTを使うことによってPostgreSQLで作ったデータの"検索APIを簡単に公開"できます。これはそのためのPostgRESTでPGroongaを使うための初心者向けガイドです。
PostgreSQL側でのデータの準備
ここでは大抵どのご家庭のコンピュータにも入っているPostgreSQLを使います😏
createdb api
psql api
テーブル作成と適切なインデックス作成
PGroongaの便利な機能を使うには、それらの機能に応じた最適なインデックスを作ることが大変重要となります。
この例では、memoテーブルを作成し、後に続く検索機能に必要なインデックスをそれぞれのカラムに対して作成します。
-
ひらがなとカタカナを同一視させます ("あっぷる"でも"あっぷる"と"アップル"がヒット)。
-
Creating a text bigram index, it allows words to be matched even when they are used within the middle of another word. For example, using 'ppl' as a search keyword can match 'Apple'.
早速やってみましょう!
CREATE EXTENSION IF NOT EXISTS pgroonga;

CREATE TABLE memos (
  id integer,
  title text,
  content text
);

-- Please don't mind the randomness of the sample text 😗
INSERT INTO memos VALUES (1, 'PostgreSQLはリレーショナル・データベース管理システムです。','すごいでしょう');
INSERT INTO memos VALUES (2, 'Groongaは日本語対応の高速な全文検索エンジンです。','スゴイデショウ');
INSERT INTO memos VALUES (3, 'PGroongaはインデックスとしてGroongaを使うためのPostgreSQLの拡張機能です。','ハバナイスデー');
INSERT INTO memos VALUES (4, 'groongaコマンドがあります。','今日はコンバンワこんにちわ');

CREATE INDEX pgroonga_title_search_index ON memos USING pgroonga (title)
  WITH (
    normalizers = 'NormalizerNFKC150(
                     "unify_to_romaji", true,
                     "unify_hyphen_and_prolonged_sound_mark", true,
                   )',
    tokenizer='TokenNgram(
                 "unify_alphabet", false,
                 "unify_symbol", false,
                 "unify_digit", false,
                 "report_source_location", true"
               )'
  );

CREATE INDEX pgroonga_content_search_index ON memos USING pgroonga (content)
  WITH (
    normalizers = 'NormalizerNFKC150(
                     "unify_to_romaji", true,
                     "unify_hyphen_and_prolonged_sound_mark", true,
                   )',
    tokenizer='TokenNgram(
                 "unify_alphabet", false,
                 "unify_symbol", false,
                 "unify_digit", false,
                 "report_source_location", true"
               )'
  );
PostgREST権限情報を設定
次の手順に従ってPostgRESTへの権限情報を設定します:
CREATE ROLE web_user nologin;
GRANT USAGE ON SCHEMA public TO web_user;
GRANT SELECT ON memos TO web_user;

CREATE ROLE authenticator noinherit login password 'mypassword';
GRANT web_user to authenticator;
PostgRESTの設定
vi memo.conf
ファイルの内容:
db-uri = "postgres://authenticator:mypassword@localhost:5432/api"
db-schemas = "public"
db-anon-role = "web_user"
PostgRESTの起動
postgrest memo.conf
PostgRESTのインストール方法については https://postgrest.org/en/stable/explanations/install.html を参考にしてね😉
URLにアクセス
ブラウザを開いて次のURLにアクセスします:
http://localhost:3000/memos
結果:
[
  {"id":1,"title":"PostgreSQLはリレーショナル・データベース管理システムです。","content":"すごいでしょう"},
  {"id":2,"title":"Groongaは日本語対応の高速な全文検索エンジンです。","content":"スゴイデショウ"},
  {"id":3,"title":"PGroongaはインデックスとしてGroongaを使うためのPostgreSQLの拡張機能です。","content":"ハバナイスデー"},
  {"id":2,"title":"groongaコマンドがあります。","content":"今日はコンバンワこんにちわ"}
]
何ということでしょう!?こんなに簡単にREST APIが動いちゃっていいの?!🤯
(ただし今回の例では権限的にSELECT機能しか使えません。なので検索は出来ますがデータの変更や削除は出来ません😏)
通常のLIKE検索
ここでは通常のPostgreSQLの LIKE 検索を使う方法を紹介します。
(ところで通常のPostgreSQLでは中間一致検索においてインデックスは使われませんが、PGroongaを使うと中間一致でもインデックスが使えます。まるで魔法ですね! 👀)
titleを検索
ブラウザを開いて次のURLにアクセスします:
http://localhost:3000/memos?title=like.*data*
[{"id":1,"title":"PostgreSQLはリレーショナル・データベース管理システムです。","content":"すごいでしょう"}]
contentを検索
ブラウザを開いて次のURLにアクセスします:
http://localhost:3000/memos?content=like.*ショウ*
[{"id":2,"title":"Groongaは日本語対応の高速な全文検索エンジンです。","content":"スゴイデショウ"}]
☝️ 通常の LIKE 検索ではカタカナの'ショウ'ではひらがなの「しょう」はヒットしません
PGroongaを使った検索
さて、PGroongaで使用する &@~ 演算子はそのままではPostgRESTで使用することができません。それを利用可能にするためのストアドファンクションを作成します。
psql api
次のSQL文を実行します:
CREATE FUNCTION find_title(keywords text) RETURNS SETOF memos AS $$
BEGIN
  RETURN QUERY SELECT * FROM memos WHERE title &@~ keywords;
END;
$$ LANGUAGE plpgsql;

CREATE FUNCTION find_content(keywords text) RETURNS SETOF memos AS $$
BEGIN
  RETURN QUERY SELECT * FROM memos WHERE content &@~ keywords;
END;
$$ LANGUAGE plpgsql;
**注意:新しい関数を作ったときはPostgRESTを再起動しないといけません。
次のセクションに進む前にPostgRESTを再起動してください。Ctrl + Cで現在動いているPostgRESTインスタンスを止めて次のコマンドを使って起動し直します。
postgrest memo.conf
PostgRESTでPGroongaを使用した検索
PostgRESTでストアドファンクションを使う際には、URLに /rpc/function_name を使います。
ブラウザを開いて次のURLにアクセスします:
http://localhost:3000/rpc/find_title?keywords=こまんど
次のような結果が戻って来ます。
[{"id":4,"title":"groongaコマンドがあります。","content":"今日はコンバンワこんにちわ"}]
ちなみにブラウザからURLでエンドポイントを叩く方が、文字列のエンコードが不要な分、curlを使うよりも楽です。
$ curl --get --data-urlencode keywords=コマンド http://localhost:3000/rpc/find_title
[{"id":4,"title":"groongaコマンドがあります。","content":"今日はコンバンワこんにちわ"}]
デフォルトで大文字小文字を無視した検索
LIKE検索と違い、PGroongaはデフォルトで大文字小文字を無視して検索します。
ブラウザを開いて次のURLにアクセスします:
http://localhost:3000/rpc/find_title?keywords=Groonga
[
  {"id":2,"title":"Groonga is a fast full text search engine that supports all languages.","content":"Fantastic!"},
  {"id":3,"title":"PGroonga is a PostgreSQL extension that uses Groonga as index.","content":"Interesting!"},
  {"id":4,"title":"There is groonga command.","content":"Is that so?"}
]
AND検索
ブラウザを開いて次のURLにアクセスします:
http://localhost:3000/rpc/find_title?keywords=Groonga command
[{"id":4,"title":"groongaコマンドがあります。","content":"今日はコンバンワこんにちわ"}]
OR検索
ブラウザを開いて次のURLにアクセスします:
http://localhost:3000/rpc/find_title?keywords=nga OR search
[
  {"id":2,"title":"Groonga is a fast full text search engine that supports all languages.","content":"Fantastic!"},
  {"id":3,"title":"PGroonga is a PostgreSQL extension that uses Groonga as index.","content":"Interesting!"},
  {"id":4,"title":"There is groonga command.","content":"Is that so?"}
]
NOT検索
ブラウザを開いて次のURLにアクセスします:
http://localhost:3000/rpc/find_title?keywords=nga -pg
[
  {"id":2,"title":"Groonga is a fast full text search engine that supports all languages.","content":"Fantastic!"},
  {"id":4,"title":"There is groonga command.","content":"Is that so?"}
]
参考情報
追加の検索項目が欲しい場合にはストアドファンクションを追加して行きましょう。
検索対象を動的にするパターン
カラム名をパラメータとして渡して検索させる例です:
CREATE OR REPLACE FUNCTION search_col(column_name text, keyword text)
  RETURNS SETOF memos
  LANGUAGE plpgsql
AS $$
BEGIN
  IF column_name IN ('title', 'content') THEN -- Check if the column name is valid
    RETURN QUERY EXECUTE format('SELECT * FROM memos WHERE %I &@~ ''%s''', column_name, keyword);
  ELSE
    RAISE EXCEPTION 'Invalid column name'; -- Return an error if the column name is invalid
  END IF;
END;
$$;
CREATE FUNCTION
全てのカラムを検索
全てのカラムに対してキーワード検索します:
CREATE OR REPLACE FUNCTION memo_search(keyword text)
  RETURNS SETOF memos
  LANGUAGE plpgsql
AS $$
BEGIN
  RETURN QUERY EXECUTE format('
    SELECT *
    FROM memos
    WHERE title &@~ $1 OR content &@~ $1
  ') USING keyword;
END;
$$;
キーワードだけのコンテンツ検索
検索対象のフィールド指定をせずにキーワードだけで全体を検索したいことがあります。ここではそのやり方を見ていきましょう。
個人蔵書のデータベースでbooksテーブルを持つ例で考えていきます:
CREATE TABLE books (
  id INTEGER,
  title TEXT,
  author TEXT
);

INSERT INTO books VALUES (1, 'Adventures of Sherlock Holmes', 'Arthur Conan Doyle');
INSERT INTO books VALUES (2, 'The Hound of the Baskervilles', 'Arthur Conan Doyle');
INSERT INTO books VALUES (3, 'The Memoirs of Sherlock Holmes', 'Arthur Conan Doyle');
INSERT INTO books VALUES (4, 'The Lion, the Witch, and the Wardrobe', 'C. S. Lewis');
仮に作者名が'Conan Doyle'で作品名に'Sherlock'が含まれている本を探したいとします。通常次のようなSQLクエリを使います:
SELECT * FROM books WHERE author LIKE '%Conan Doyle%' and title LIKE '%Sherlock%';
-- id |             title              |       author
-- ----+--------------------------------+--------------------
--   1 | Adventures of Sherlock Holmes  | Arthur Conan Doyle
--   3 | The Memoirs of Sherlock Holmes | Arthur Conan Doyle
-- (2 rows)
ただ、Googleのようにキーワード検索のみで同じ検索を実現する場合は'conan doyle sherlock'のような検索キーワードで同じ結果が出て来て欲しいところです。
キーワード検索用の特別なインデックス作成
このような機能を実現するためには複数配列なインデックスを作成する必要があります。ここにその作成方法を記載します:
CREATE INDEX pg_multi_book_index on books USING pgroonga
	((ARRAY[title, author]) pgroonga_text_array_full_text_search_ops_v2)
	WITH (
    normalizers = 'NormalizerNFKC150
      (
        "unify_kana", true,
        "unify_to_romaji", true,
        "unify_hyphen_and_prolonged_sound_mark", true
      )',
    tokenizer = 'TokenNgram("unify_symbol", false, "unify_alphabet", false, "unify_digit", false)'
  );
キーワード検索用のストアドファンクションの作成
Googleのような検索の動きをデータベースで実現させるにはbooksテーブルからキーワードで内容を検索するためのストアドファンクションを次のように作ります:
CREATE OR REPLACE FUNCTION gsearch(keyword text)
  RETURNS SETOF books
  LANGUAGE plpgsql
AS $$
BEGIN
  RETURN QUERY EXECUTE format('
    SELECT *
    FROM books
    WHERE ARRAY[title, author] &@~ $1
  ') USING keyword;
END;
$$;
booksテーブルに権限を付与
booksテーブルにアクセス可能なように必要な権限を付与します。次のSQLコマンドを実施してください:
GRANT SELECT ON books TO web_user;
ブラウザを使った検索例
キーワード検索機能をテストする準備が整いました。ブラウザを開いて次のURLにアクセスしてください:
http://localhost:3000/rpc/gsearch?keyword=conan doyle sherlock
[
  {"id":1,"title":"Adventures of Sherlock Holmes","author":"Arthur Conan Doyle"},
  {"id":3,"title":"The Memoirs of Sherlock Holmes","author":"Arthur Conan Doyle"}
]
キーワード検索を使うことで馴染みある方法で検索機能を利用することが出来ます。検索機能を充実させる上で便利な方法ではないでしょうか?
検索キーワードのオートコンプリート
PGroongaにはオートコンプリート機能が実装されており、ハウツーのオートコンプリートの実装方法に記載があります。
ここではPostgRESTとシンプルなHTMLファイル(とJavaScript)でこの機能を利用する方法を紹介します。
オートコンプリート機能用のテーブルの作成
CREATE TABLE terms (
  term text,
  readings text[]
);

CREATE INDEX pgroonga_terms_prefix_search ON terms USING pgroonga
  (readings pgroonga_text_array_term_search_ops_v2);

CREATE INDEX pgroonga_terms_full_text_search ON terms USING pgroonga
  (term)
  WITH (tokenizer = 'TokenBigramSplitSymbolAlphaDigit');

INSERT INTO terms (term, readings) VALUES ('PostgreSQL', ARRAY['sql', 'postgres']);
INSERT INTO terms (term, readings) VALUES ('Groonga', ARRAY['elasticsearch','meilisearch']);
INSERT INTO terms (term, readings) VALUES ('PGroonga', ARRAY['postgresql','extension']);
PostgREST権限情報を設定
GRANT SELECT ON terms TO web_user;
オートコンプリート機能用のエンドポイント作成
CREATE OR REPLACE FUNCTION autocomplete(keyword text) RETURNS SETOF text AS $$
DECLARE
  result text[];
BEGIN
  IF keyword = '' THEN
    RETURN QUERY SELECT unnest(result);
  ELSE
    RETURN QUERY SELECT term FROM terms WHERE readings &@ keyword;
  END IF;
END;
$$ LANGUAGE plpgsql;
HTMLとJavaScriptの作成
Create following HTML file:
vi index.html
<!DOCTYPE html>
<html>
  <head>
    <meta charset="UTF-8">
    <meta name="viewport" content="width=device-width, initial-scale=1.0">
    <title>PGroonga Auto Complete Search</title>
    <link rel="stylesheet"
          href="https://cdn.jsdelivr.net/npm/@tarekraafat/autocomplete.js@10.2.7/dist/css/autoComplete.min.css">
    <style>
        .center-container {
            display: flex;
            justify-content: center;
            align-items: center;
            min-height: 100vh;
        }
    </style>
  </head>
  <body>
    <div class="center-container">
        <form name="search" id="searchForm">
            <input type="search" size="60" maxlength="60" name="key" id="autoComplete">
        </form>

        <script src="https://cdn.jsdelivr.net/npm/@tarekraafat/autocomplete.js@10.2.7/dist/autoComplete.min.js">
        </script>
        <script type="text/javascript">
            const searchForm = document.getElementById('searchForm');

            searchForm.addEventListener('submit', async (event) => {
                event.preventDefault();
                const query = document.getElementById('autoComplete').value;

                if (query.length === 0) {
                    return;
                }

                const params = new URLSearchParams({keywords: query});
                const response = await fetch(`http://localhost:3000/rpc/find_title?${params.toString()}`);
                const result = await response.json();

                const preElement = document.getElementById('output');
                if (result.length > 0) {
                    const formattedValue = JSON.stringify(result, null, 2);
                    preElement.textContent = formattedValue;
                } else {
                    preElement.textContent = 'No results found';
                }
            });

            const dataSource = async (query) => {
                const params = new URLSearchParams({keyword: query});
                const source = await fetch(`http://localhost:3000/rpc/autocomplete?${params.toString()}`);
                return await source.json();
            };

            const autoCompleteJS = new autoComplete({
                placeHolder: "Enter a keyword",
                data: {
                    src: dataSource
                },
                searchEngine: (query, record) => record,
                events: {
                    input: {
                        selection: (event) => {
                            const selection = event.detail.selection.value;
                            autoCompleteJS.input.value = selection;
                        }
                    }
                },
                submit: true
            });
        </script>
        <pre id="output"></pre>
    </div>
  </body>
</html>
PostgRESTをAPIバックエンドとして起動
次のコマンドを使用してPostgRESTを実行します
postgrest memo.conf
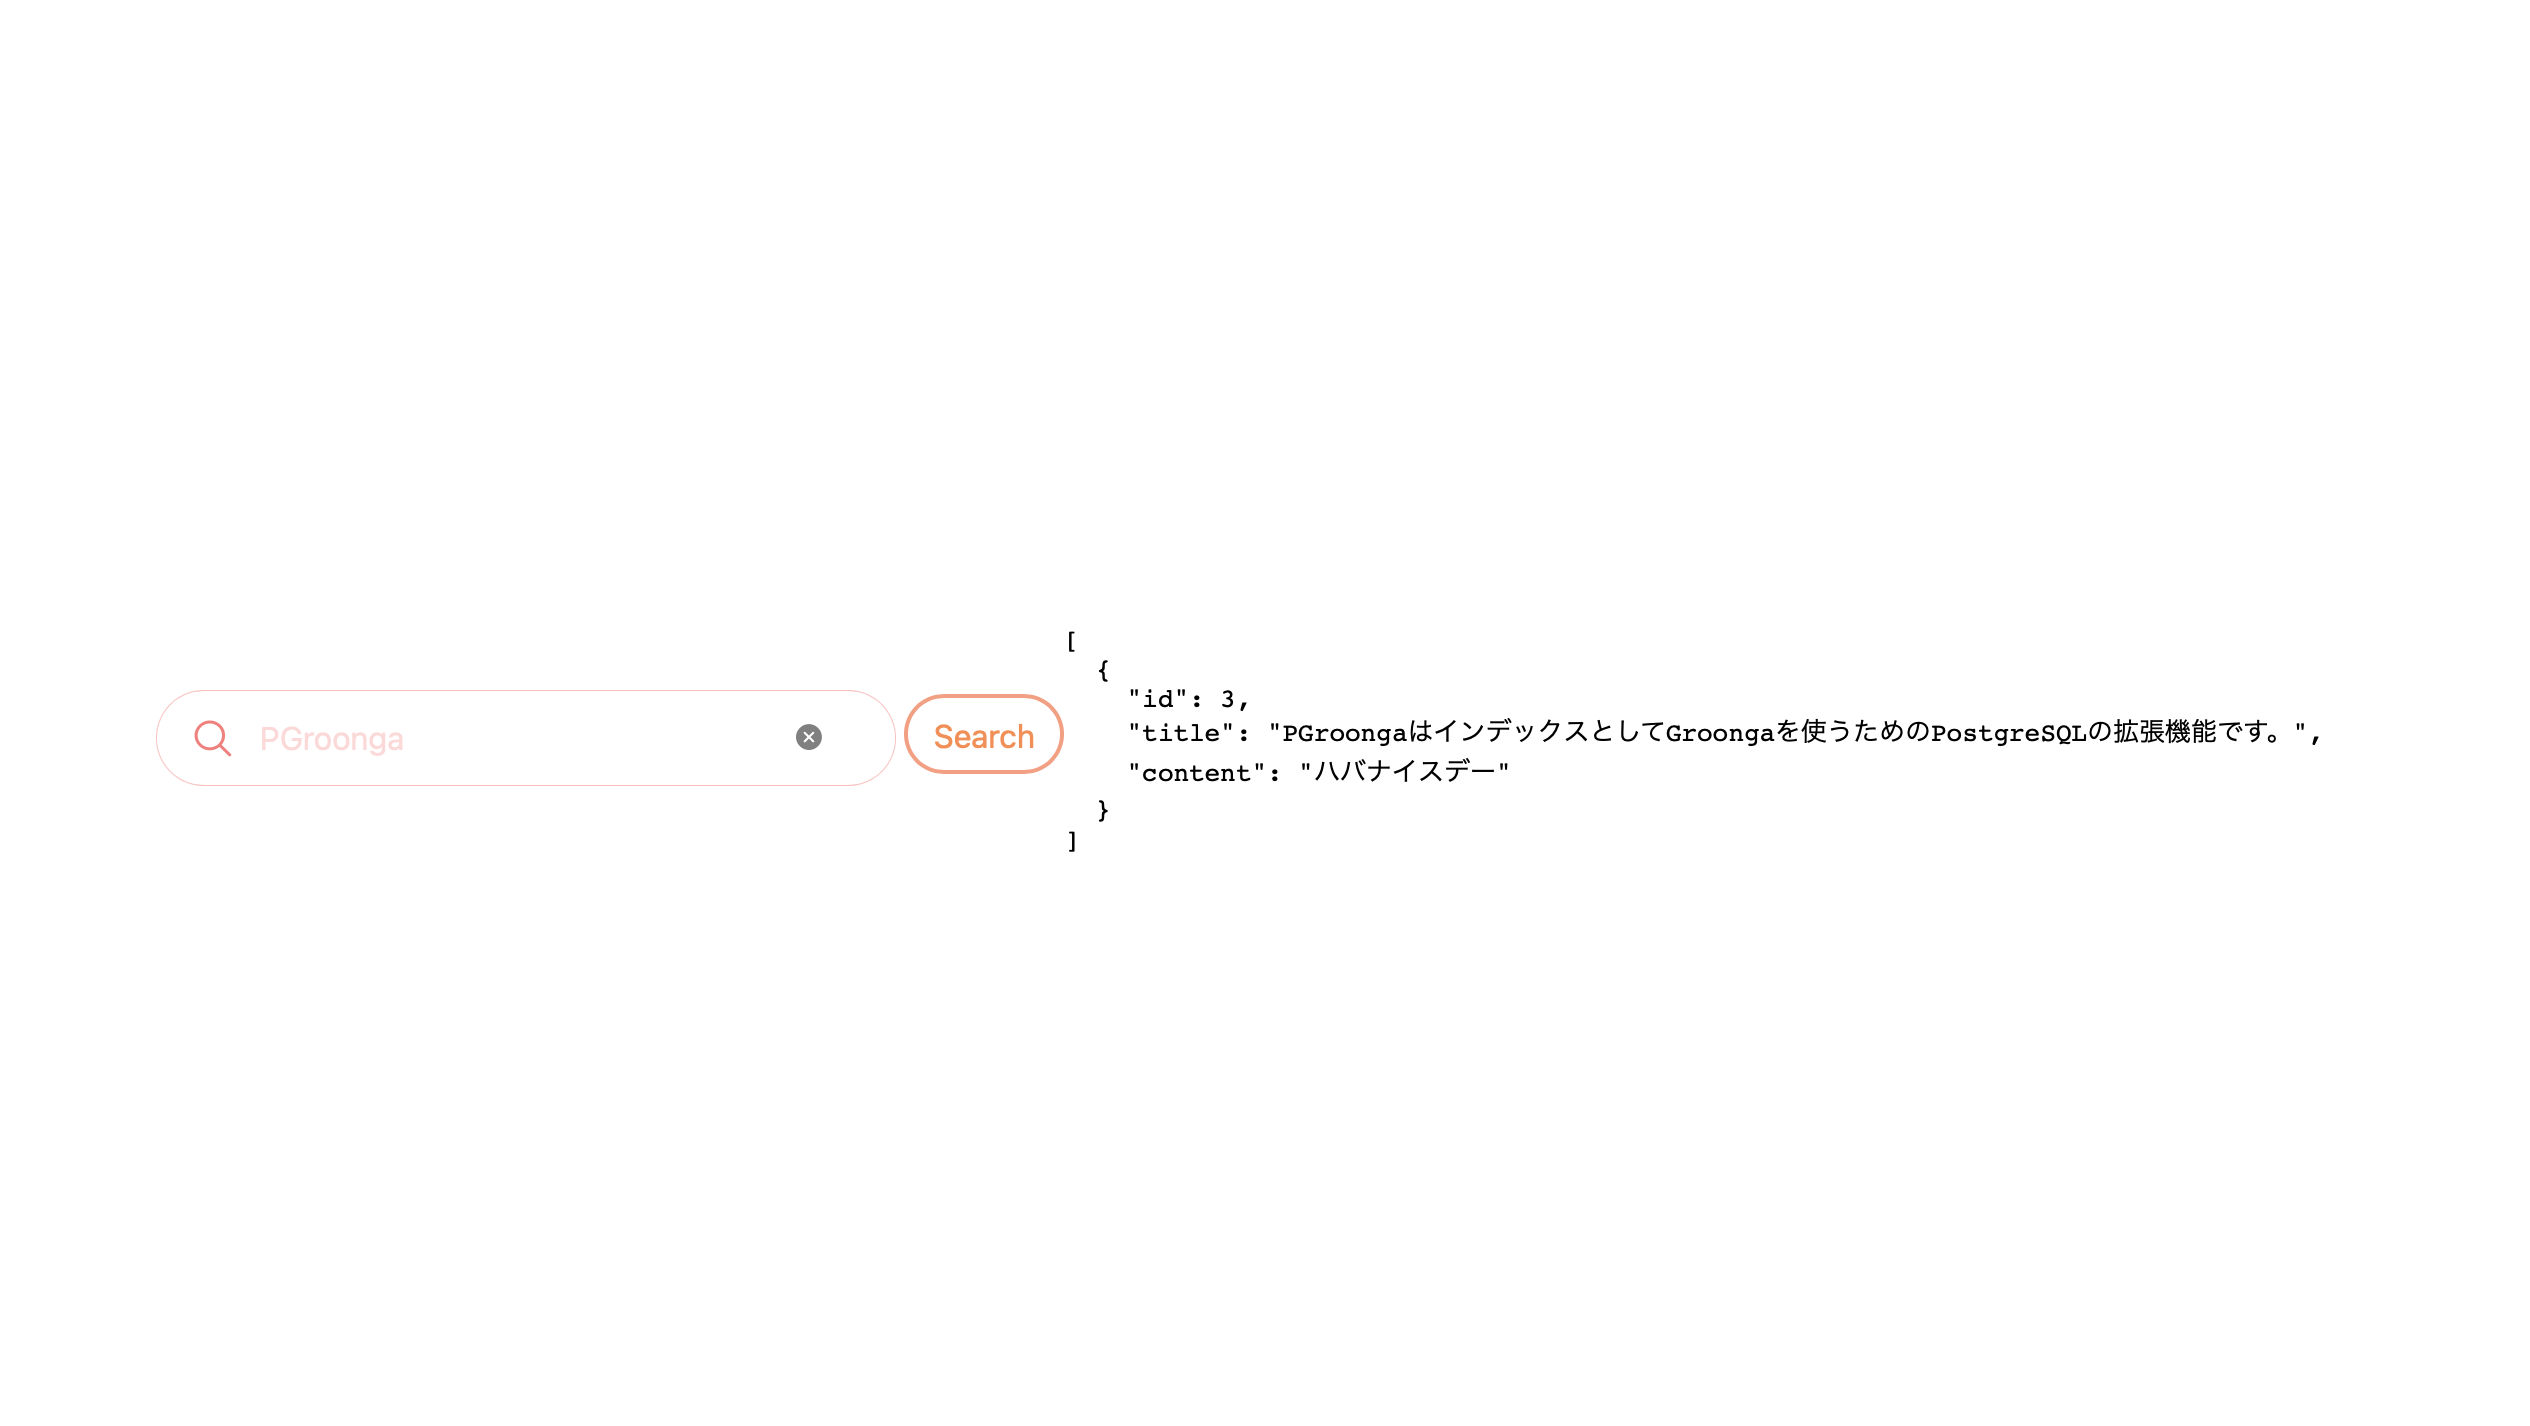
HTMLファイルを開いてテストします
ブラウザでindex.htmlを開きます。
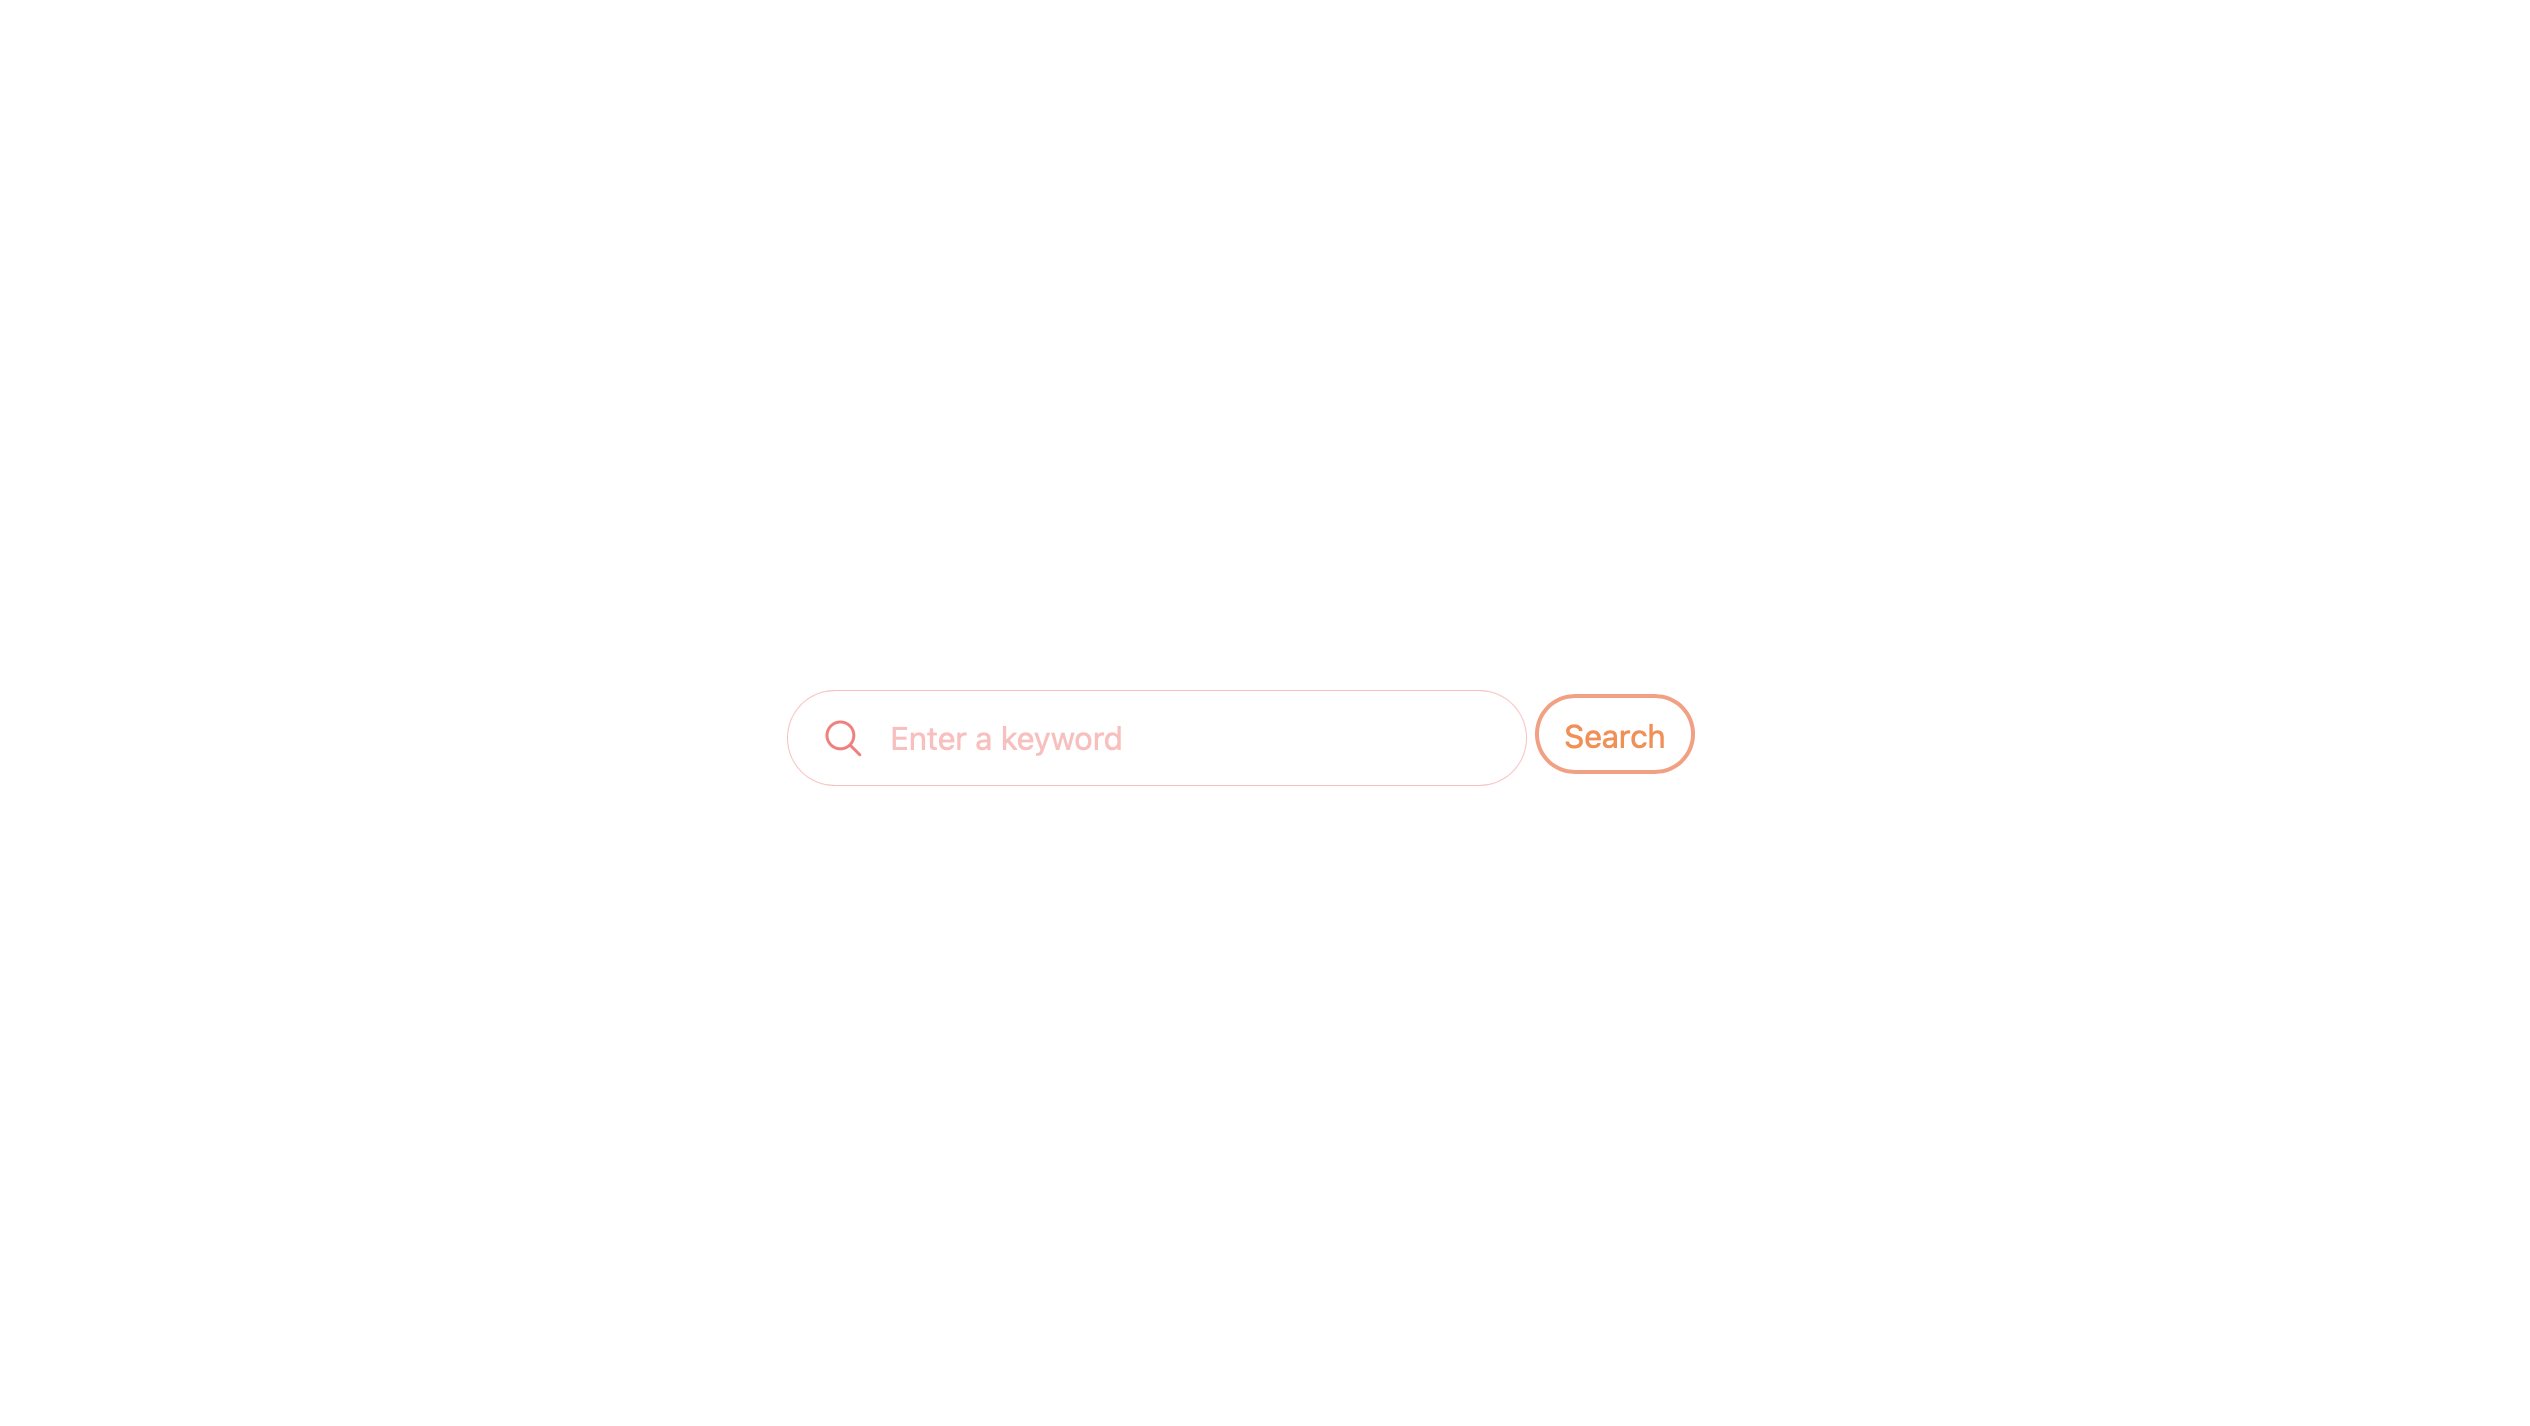
何か入力するとキーワード候補が現れます。
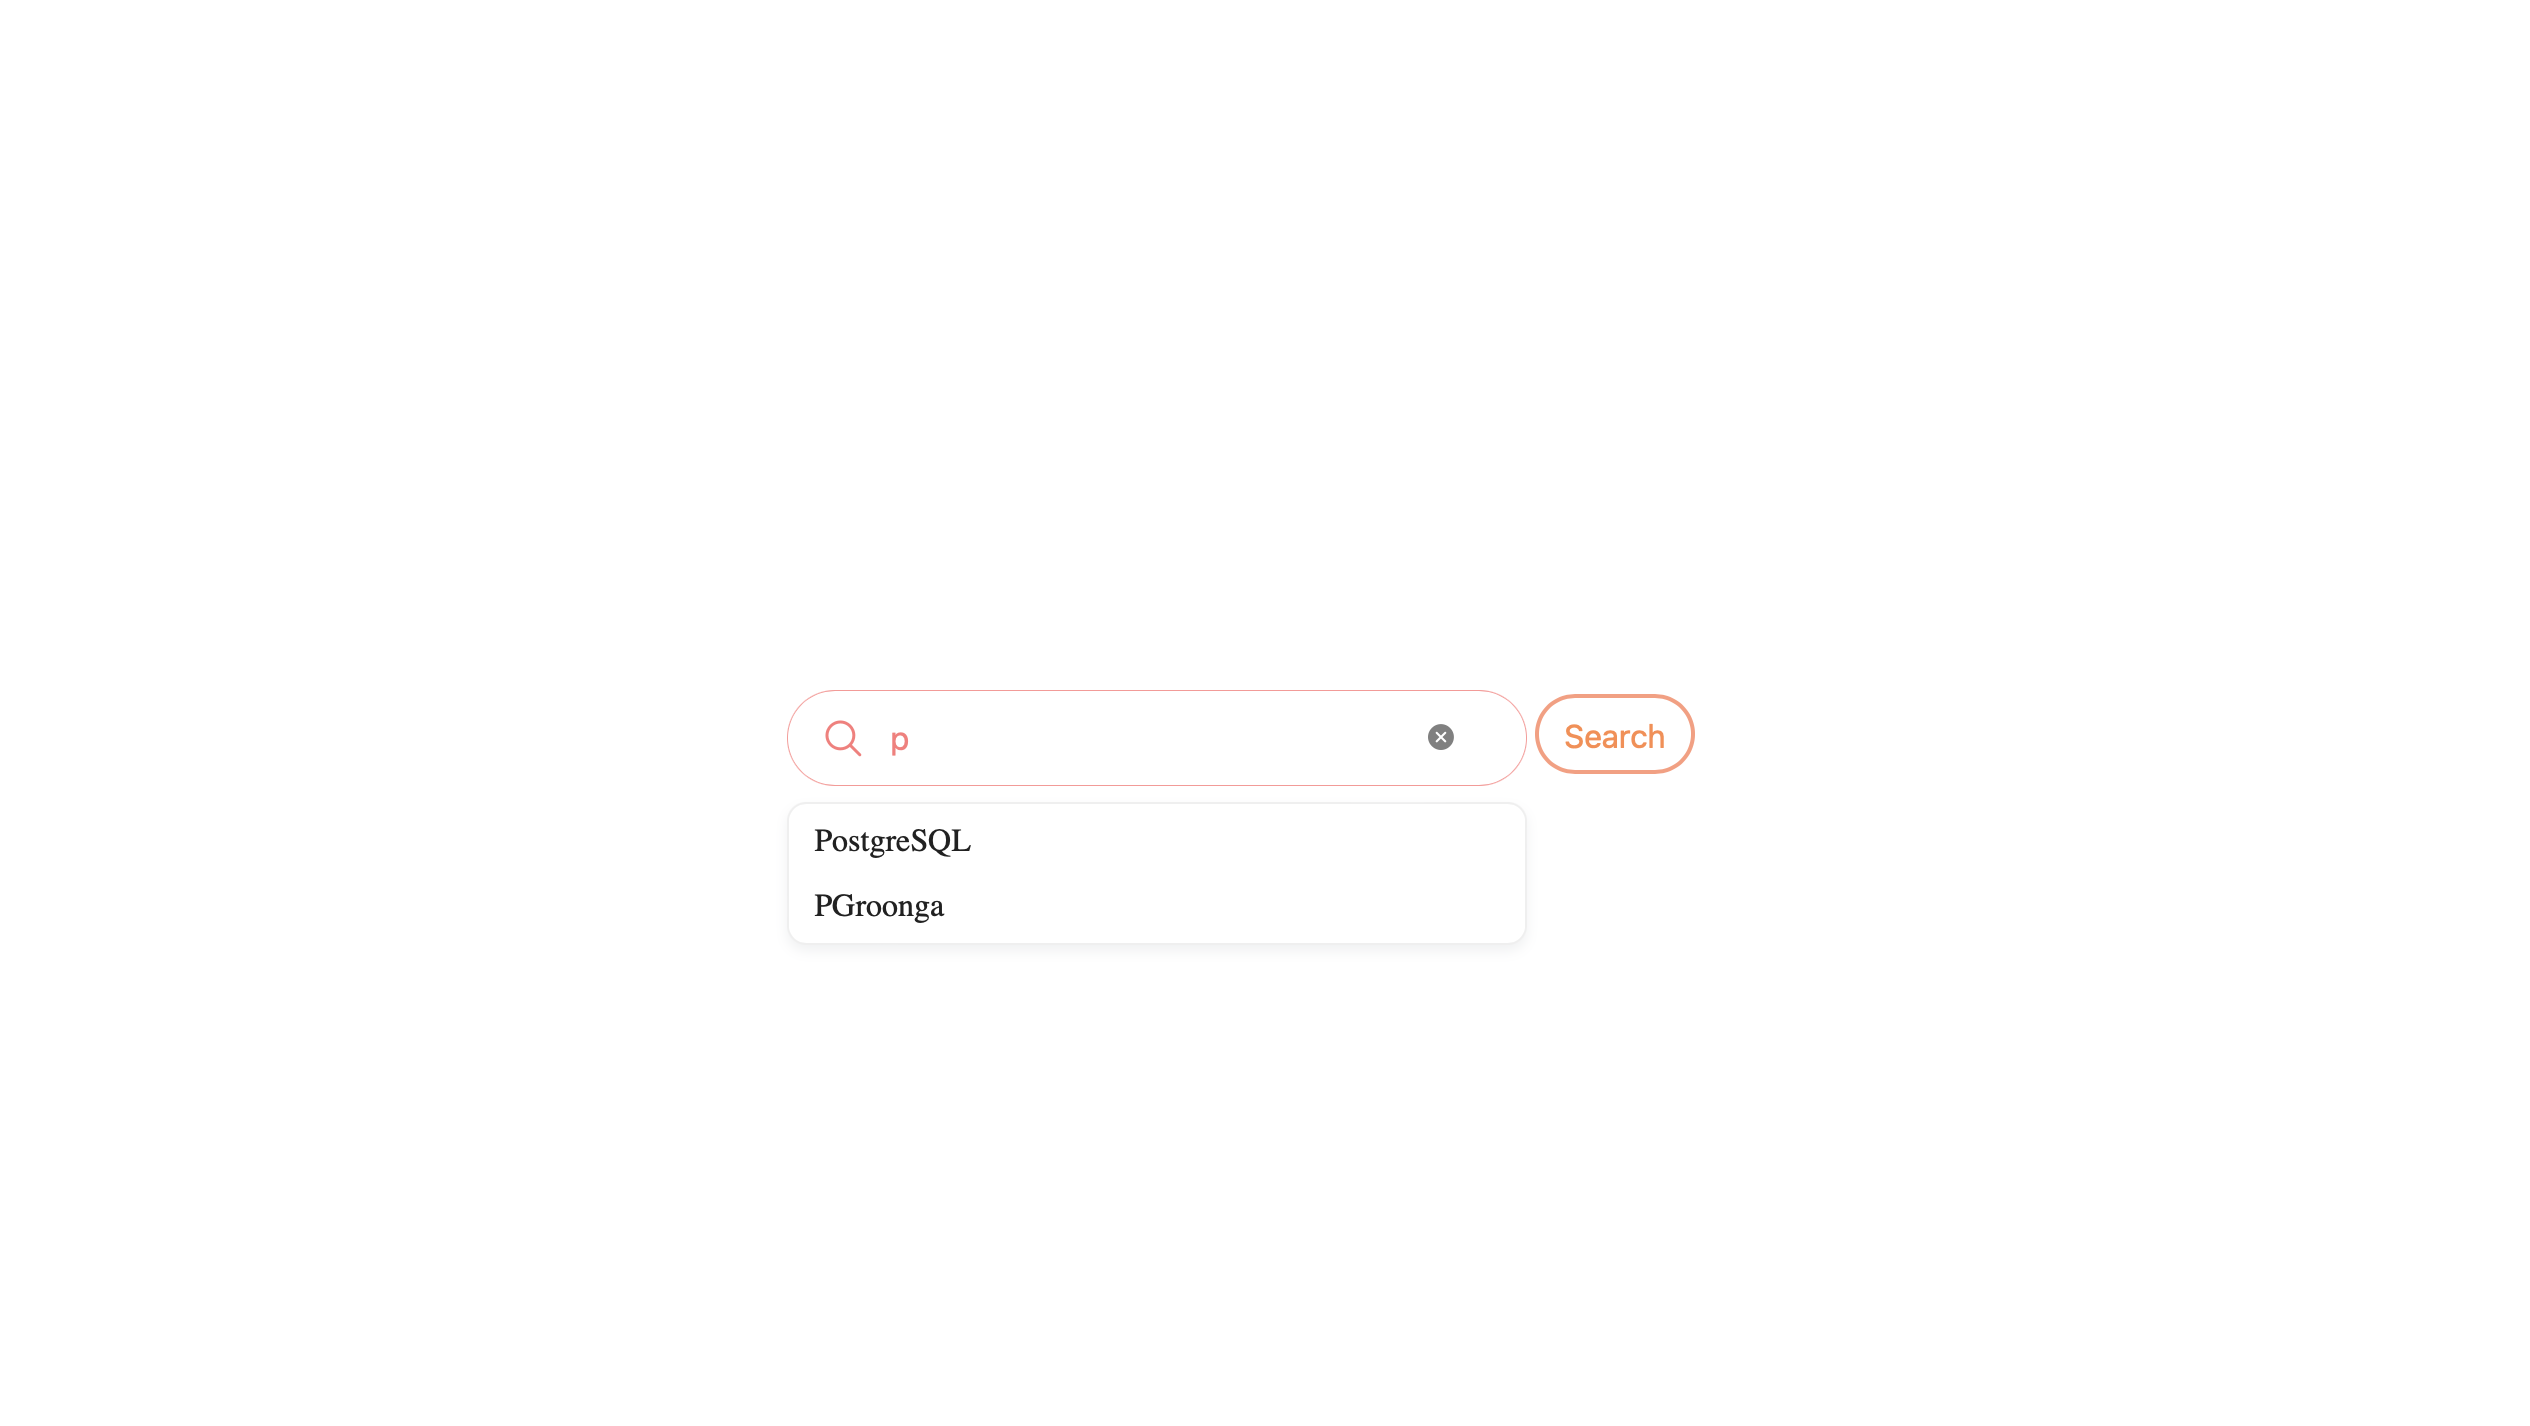
Searchボタンをクリックするとmemosテーブルのtitleデータを検索します。